- 100% Natural
- Premium Quality
- No Preservatives
- Fresh & Healthy
Choose dry fruit serving utensils around nut size, sticky fruit and shared bowls. Plan clean scoops, waste dishes and refills for a practical hosting setup.
Dry fruit serving utensils should suit the ingredients and the way guests will eat them. A narrow scoop may work for small kernels but not a large sticky date. A beautiful bowl is less useful if everyone struggles to lift the food cleanly.
This guide focuses on a practical home table. It does not establish commercial food-service compliance or guarantee allergy suitability. The aim is clear ingredient identification, manageable refills and tools that do their job.
Write what will actually be served: kernels, in-shell nuts, dates with pits, chopped fruit or loose seeds. Each creates different handling and waste.
Check current product preparation rather than assuming a familiar name always means ready-to-eat kernels. A bowl of in-shell pista needs a different setup from a bowl of chopped garnish.
Keep ingredient labels available if guests need them. Decorative presentation should not erase information.
The utensil should enter comfortably and lift food without tipping the container. A very wide scoop in a narrow jar is awkward.
Try a small serving before guests arrive. This shows whether the handle, opening and food size work together.
Do not describe a scoopful as a universal nutritional portion. It is a serving tool, and different shapes and ingredients produce different weights.
Larger sticky fruit may be easier with suitable tongs or a small serving fork. Choose tools designed for food and comfortable to grip.
Avoid sharp improvised objects or decorative pieces with unknown food-contact suitability. Check care instructions before placing a tool in a dishwasher.
Keep the tool rest clean and dry. A wet saucer beside the kettle can transfer moisture into a dry bowl.
Give each bowl its own tool when practical. This makes the setup easier to understand and reduces movement of seasoning or sticky residue.
Do not move a utensil from yogurt or another wet accompaniment into the dry reserve. Keep dairy and other perishable foods on their own storage plan.
Our platter guide offers arrangement ideas. Tool placement is a separate practical check within that presentation.
Do not assume removing one visible nut from a mixed bowl establishes suitability for someone avoiding it.
If a guest has a specific requirement, rely on accurate source information and appropriate handling rather than a broad reassurance from the table layout.
A clean-looking utensil does not, by appearance alone, prove a particular level of allergen control.
Put a clearly different waste dish near in-shell nuts or seeded dates. Make it obvious which bowl contains food and which receives discarded material.
Do not let shells return to compartments that will later be closed over edible contents. A used box lid is not automatically a suitable waste plate.
Place waste where guests can reach it without passing debris over every serving bowl.
Bring out a modest amount and keep the reserve in appropriate storage. Use a clean container for the next serving round if the first becomes sticky or damp.
Do not top up indefinitely over old crumbs and mixed batches. Keep source packs identifiable.
For a shared workplace setup, our office pantry guide adds stock and refill planning.
A spot beside a kettle, stove or sink can be humid or warm. Choose a clean dry area for dry food.
A lid helps protect contents when suitable, but it does not remove heat exposure. Follow the product's actual storage directions.
Use the care method appropriate to the material. Check corners, joins and handles for trapped residue.
Allow complete drying before a utensil returns to a dry jar or enclosed box. Do not store damp tools against nuts or dried fruit.
Record what worked for the next gathering: bowl opening, tool size and refill amount. A practical setup is more useful than adding many decorative pieces that complicate serving.
Keep food and tool information accurate, and avoid invented certifications or hygiene guarantees.
List the actual foods and their shell, pit or sticky-surface characteristics before choosing tools. Keep this preparation separate from the unused ingredient packs. Put measured amounts in small bowls so a pause or interruption does not lead to the same ingredient being added twice. Retain the original labels when ingredients are transferred into other containers.
Arrange clean bowls and a separate waste route before guests begin serving. Check the equipment and available space before starting the stage that needs continuous attention. A short written order of tasks can prevent a cooked component waiting unnecessarily while another is still being prepared. Use the stated texture cues alongside the clock.
Try a small serving with each utensil to check grip, opening and practical portion control. Make the smallest practical adjustment, combine it fully and reassess before adding more. Keep a note of the quantity actually used and the preparation of the source product. This gives the next batch a clear reference instead of several simultaneous changes.
Refill through clean serving bowls while the main reserve stays protected. Separate the working amount from the untouched reserve and choose packaging that suits the prepared food. A dry ingredient and a dish made from it can have different storage requirements. Keep serving utensils clean and ingredient information accessible to anyone sharing.
Before guests arrive, try the setup with one small serving of each actual food. Check that the utensil rests securely and does not fall into a deep bowl. A brief practical test can reveal a poor handle or opening match before the table becomes busy.
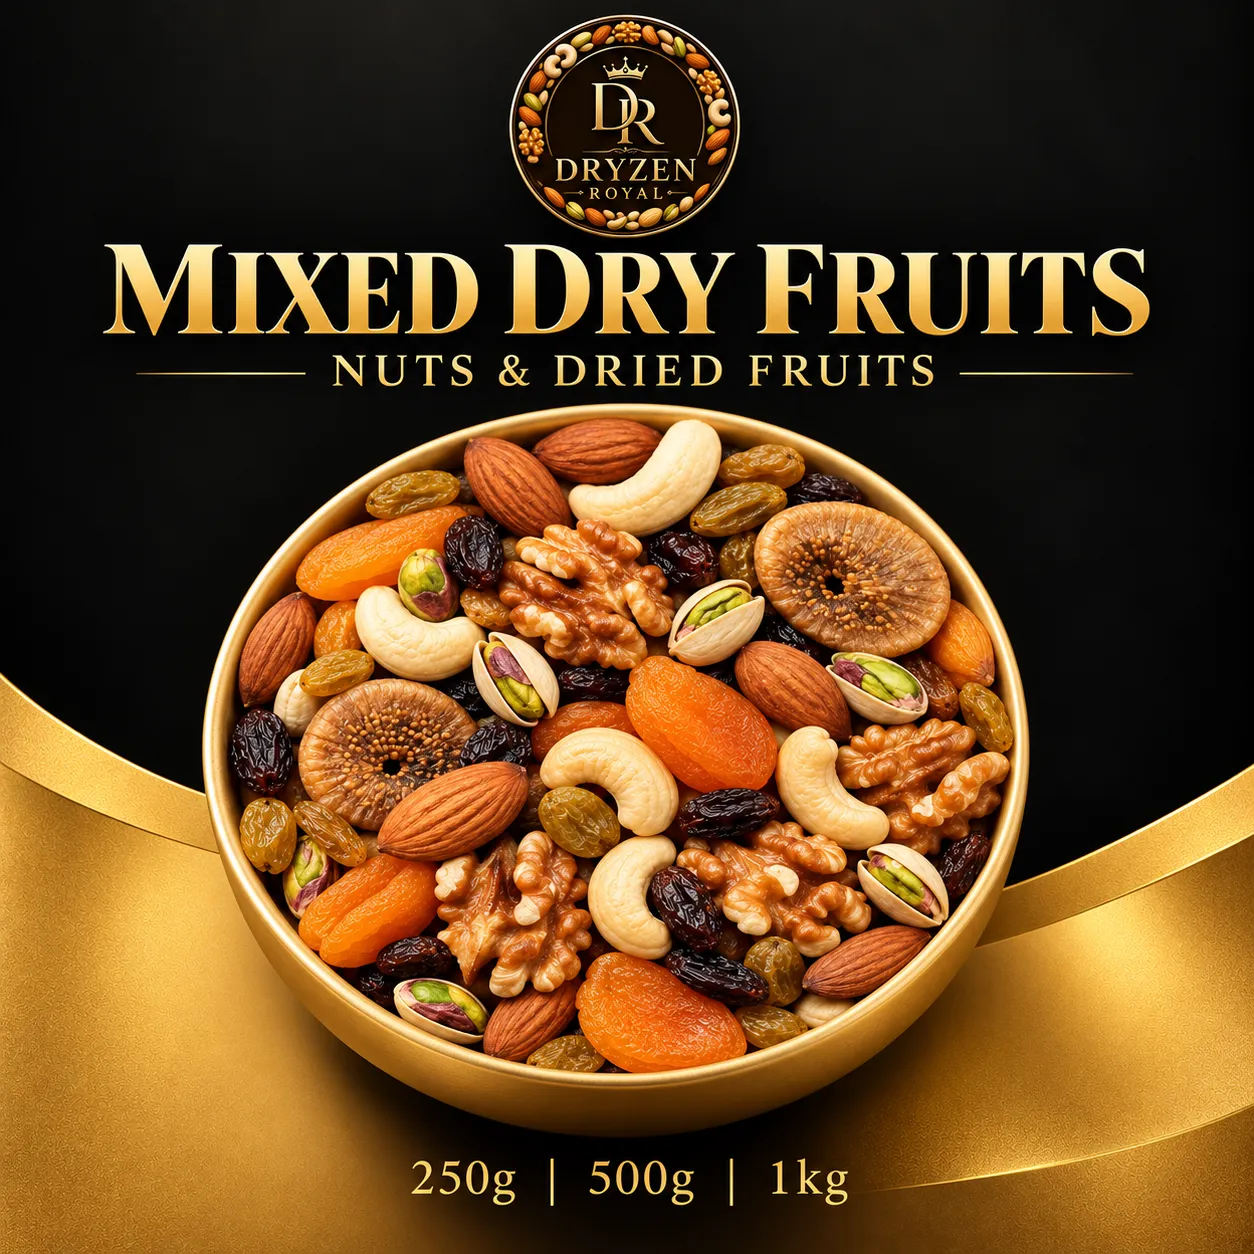
For ingredients for dry fruit serving utensils, view Mixed Dry Fruits & Nuts. Review the current product details and choose a pack that fits your cooking or gifting plans.
Separate tools make ingredients easier to identify and reduce unnecessary transfer.
Check the actual material, finish and care guidance.
Keep a separate clearly identifiable waste dish.
Do not make that guarantee; ingredient and handling requirements need proper assessment.
Questions about this article?
Email us and we will get back to you.
Explore more
