- 100% Natural
- Premium Quality
- No Preservatives
- Fresh & Healthy
Bake raisin bread with measured kishmish, a soft yeast dough and clear proving cues. Learn fruit distribution, loaf shaping and cooling before slicing.
Raisin bread is a simple yeast loaf with pockets of kishmish spread through a soft crumb. It is intended for slicing and toasting rather than rolling with a cinnamon filling. The fruit adds sweetness without requiring a thick icing or syrup.
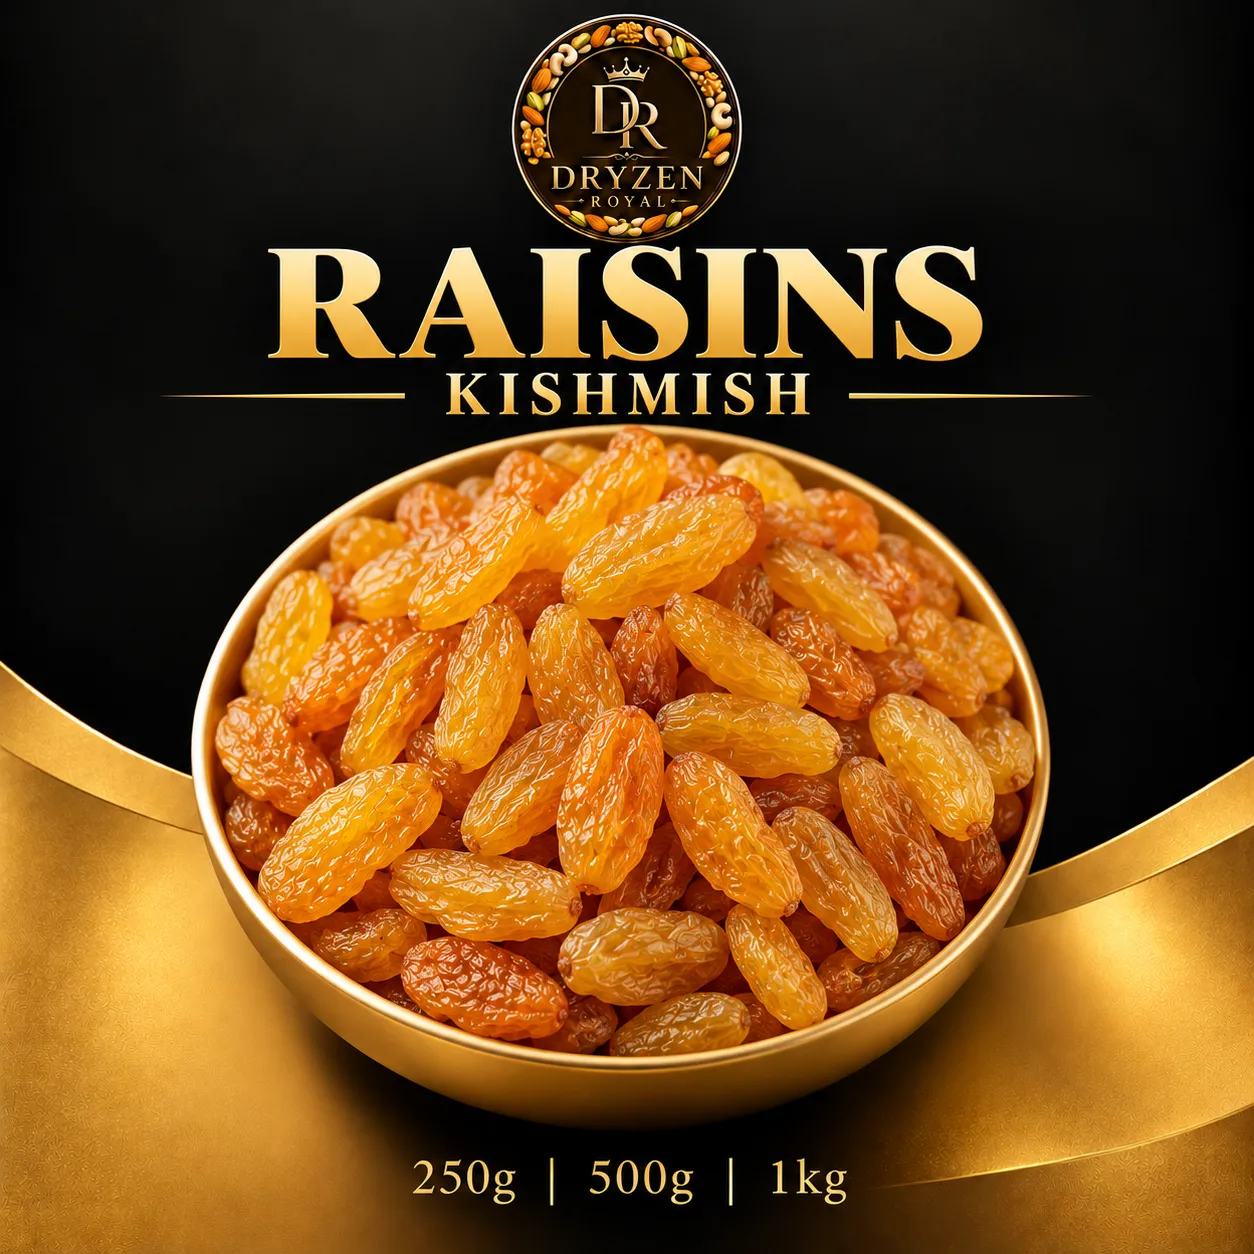
The useful controls are a supple dough, evenly prepared raisins and a final rise judged by appearance. A warm kitchen changes the clock, so look for expansion and a lighter feel rather than following a fixed schedule regardless of conditions.
Use a loaf tin approximately 21cm by 11cm. Allow about twenty-five minutes of active work, two rises and thirty to thirty-five minutes of baking.
Follow the yeast pack instructions. Milk should be mildly warm, not hot enough to damage yeast. Use a scale for flour rather than adding repeated handfuls during handling.
Remove stems and separate clumps. If the raisins are hard, soften briefly in warm water, drain well and pat dry. Keep the fruit outside the measured dough liquid.
Our dried grape comparison explains common names. Size and preparation can vary, so inspect the actual product.
Combine flour, yeast, sugar and salt. Add milk and egg, then mix into a rough dough. Work in the butter gradually.
Knead until smoother and elastic, usually around eight to ten minutes by hand. The dough may remain slightly tacky. Let it rest briefly before deciding it needs extra flour.
Fold in the prepared raisins near the end so they distribute without being mashed. A few folds are more useful than a long aggressive knead after adding fruit.
Place in a lightly greased bowl and cover. Leave until roughly doubled and visibly aerated. A cool room may take substantially longer than a warm one.
Avoid direct sunlight or a hot appliance surface. Strong local heat can melt butter and change handling before the dough has developed evenly.
Press out the largest bubbles gently. Pat into a rectangle with a width suited to the tin. Roll into a cylinder, keeping it snug without squeezing all the fruit to one end.
Pinch the seam and place seam-side down in the greased or lined tin. Tuck protruding dry fruit slightly into the surface so it does not scorch.
Cover loosely and leave until puffy and risen toward the rim. The dough should look lighter, not merely sit as a dense log.
Heat the oven to 180°C conventional or around 160°C fan before the final rise finishes. Brush the top lightly with milk.
Bake for approximately thirty to thirty-five minutes. The loaf should be well coloured and feel set, with a cooked centre. If the top browns too quickly, cover loosely while it finishes.
Rest in the tin briefly, then turn onto a rack. Let steam escape from the underside. Cutting straight from the oven can compress the still-setting crumb.
Our raisin cinnamon rolls use a separate buttery filling and individual portions. This loaf has a different shaping goal, so do not copy its sugar layer into the tin without adapting the recipe.
Serve plain slices with tea or toast gently and offer butter separately. A thick sweet topping is optional rather than required.
If the loaf is dense, check yeast condition, liquid temperature and the two rises. A stiff dough made with excess bench flour is another common issue.
If fruit gathers at the bottom, review when it was added and how the dough was rolled. If the surface fruit burns, tuck it in and monitor top heat.
If your raisin bread dries quickly, note bake duration and cooling storage. Wrap only once cool. Freeze individual slices for a longer reserve and toast or rewarm as needed.
Identify wheat, milk and egg when sharing. Keep cooked bread and wet preparation utensils away from the dry kishmish pack, and retain the original ingredient information.
Write down flour type, tin dimensions and the approximate room conditions. Note how the dough looked at each rise and whether it needed extra liquid. Those observations help explain a dense loaf more clearly than recording only the total elapsed time.
For a smaller household, slice the cooled loaf before freezing. Separate slices so you can remove only what you need. Bringing the whole loaf repeatedly between warm air and cold storage creates unnecessary handling. Keep the wrapped reserve protected while the working slices are toasted or served.
Begin with a clear working space. Weigh usable raisins after removing stems and note whether any softening was needed. Set the measured ingredients beside the equipment before heating anything, and keep the original packs outside the wet preparation area. This makes it easier to distinguish a measured recipe portion from the unused reserve.
Prepare the fruit before kneading so it can be drained before entering the dough. Keep a short written order of tasks if several components are involved. A bowl that is ready early can be covered or chilled as appropriate while another stage finishes. Avoid leaving perishable ingredients on a warm counter simply because the next step is not ready.
Check dough expansion and elasticity instead of using extra yeast as the first correction. Assess a small prepared sample before changing the whole batch. Record the original quantity and the adjustment so a successful result can be repeated. Changing several ingredients at once makes it harder to identify what improved the texture or flavour.
Cool the loaf on a rack and freeze spare slices individually for later toast. Bring out a manageable serving amount and keep the reserve protected. Use clean utensils for the finished food and retain the source ingredient information for anyone sharing it. Packaging and storage should match the prepared dish, rather than the dry ingredient from which it began.
Explore Premium Raisins (Kishmish) when planning raisin bread. Check the current preparation and pack information, choose the quantity your recipe needs, and keep the remaining dry ingredients stored as directed.
Drain and surface-dry them first so unmeasured water does not make the dough slippery.
Uneven shaping or large wet clumps can create gaps. Separate fruit and distribute it before the final roll.
Cool on a rack first. A very hot crumb may seem gummy and tear under the knife.
Check dough hydration, kneading and proving conditions first rather than increasing yeast blindly.
Questions about this article?
Email us and we will get back to you.
Explore more
